shieldteamrearguard
RocketChat ID: CyBXGsKqj2afNJchY
115 total messages. Viewing 100 per page.
Page 1/2
| Next
@all I created this chat for the purpose of the rearguard communicating and ensuring that we are all prepared for the upcoming event. I would like for everyone to have drilled at least twice before event. It's essential that we really nail these tactics down to a tee and are confident in our abilities perform under stress and pressure.
also if anyone needs help ordering their gear, or is having a hard time funding it be it knee pads or chin strap let either Thomas, Vincent, or myself know.
I just got an email saying my chin strap arrived so I should have all the necessary gear
What all gear we need
📌 NOTICE 📌
Leg/Head Protection, Necessary Gear
Below linked is the standardized leg protection for heavy shieldbearers. It is not required for those on light duty shields.
It will be necessary for those on heavy shields to purchase and prepare their own leg guards. If they have issues with this financially they are to contact their team lead, and that is to be discussed here.
If you are taller than 6ft, you may want to buy the taller guards.
Once you acquire the guards, you must paint them. Steps for doing that are as follows:
- Lightly sand the surface of the pads until it has a matte appearance, and is no longer shiny and sleek.
- Cover all areas of the item but the hard padding with masking tape.
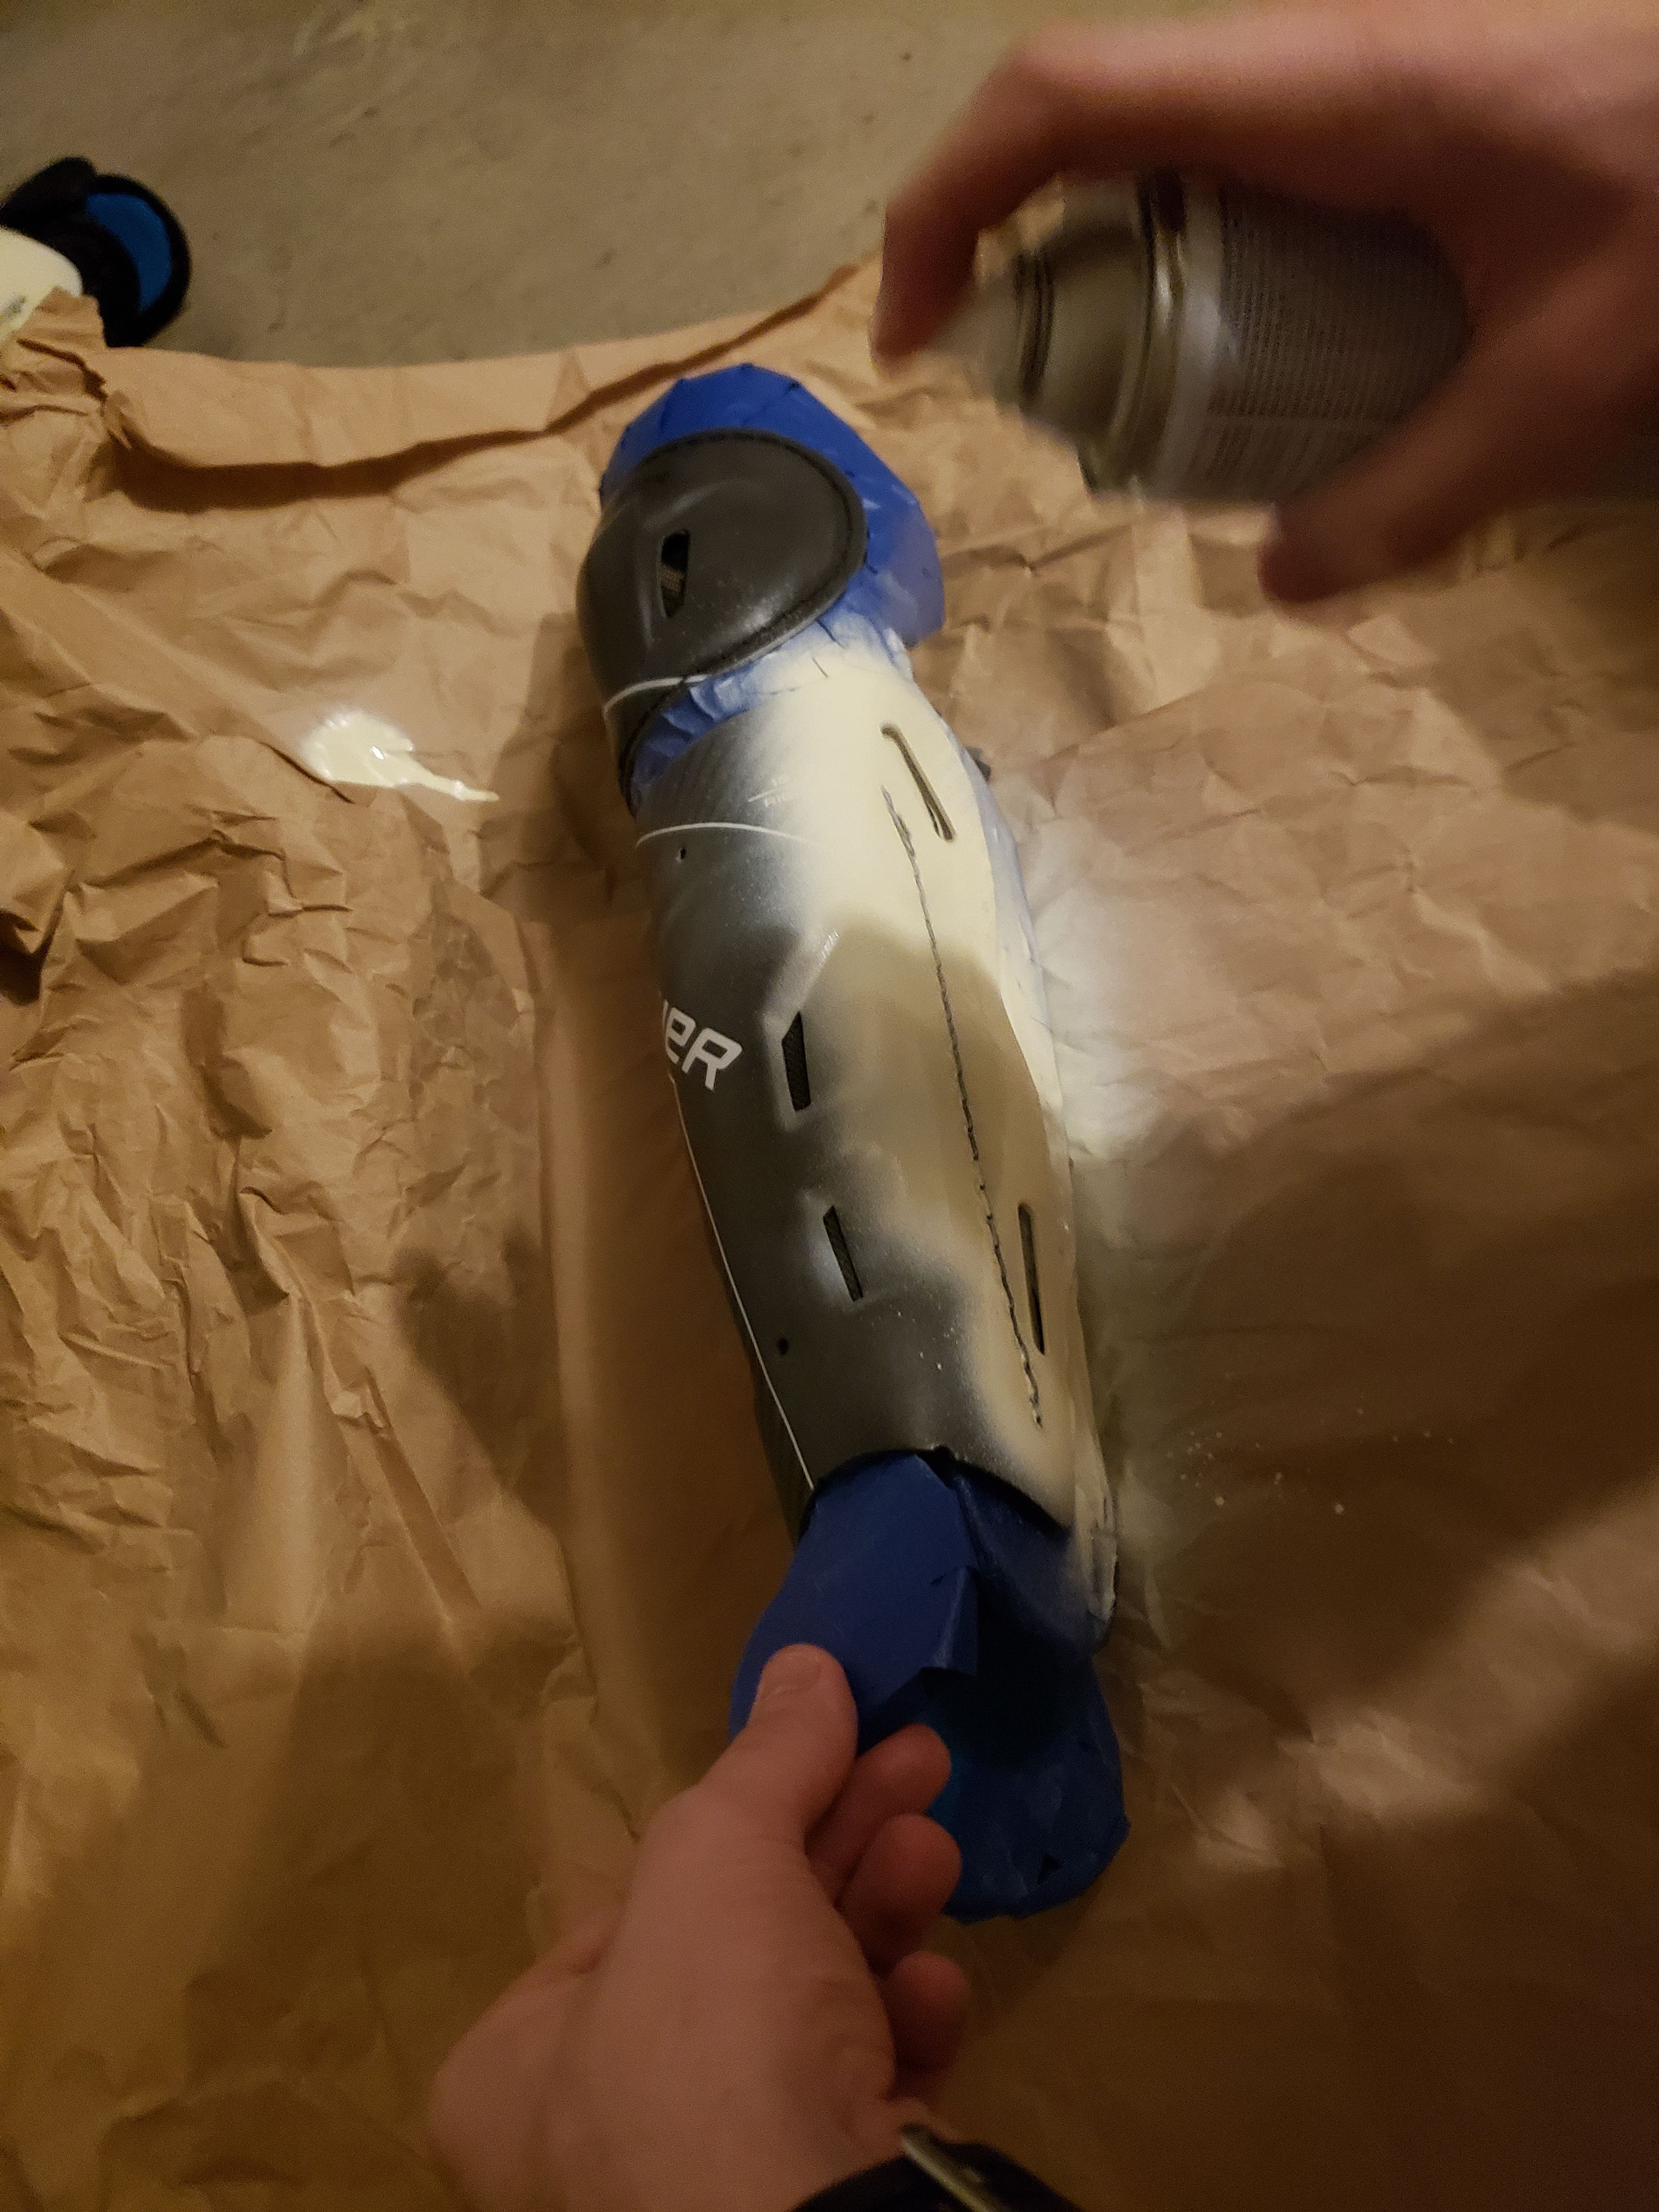
- Spray the pads with two light coats of light tan paint. (Rustoleum brand "Antique White" is Ideal).
Instructions for the chin strap are simple. All on shields are required to have one. Purchase one, and hold onto the extra.
- Very carefully pick a place just in front of the ear on your hat and poke a hole in the fabric just big enough to clip the chinstrap.
- If the hat can be worn comfortably with the mask overtop of the chinstrap, and is more firmly attached to the head, do the same with the bump cap inserted.
- It is best to drill a small hole into the bump cap at the precise location previously used. If you do not have access to a drill, ask your locals.
Report back with any questions, before proceeding with the process. Acquire and prepare these items as soon as you are able.
Leg Guards
[https://tinyurl.com/legprotection]
Chin Strap
[https://tinyurl.com/universalchinstrap]
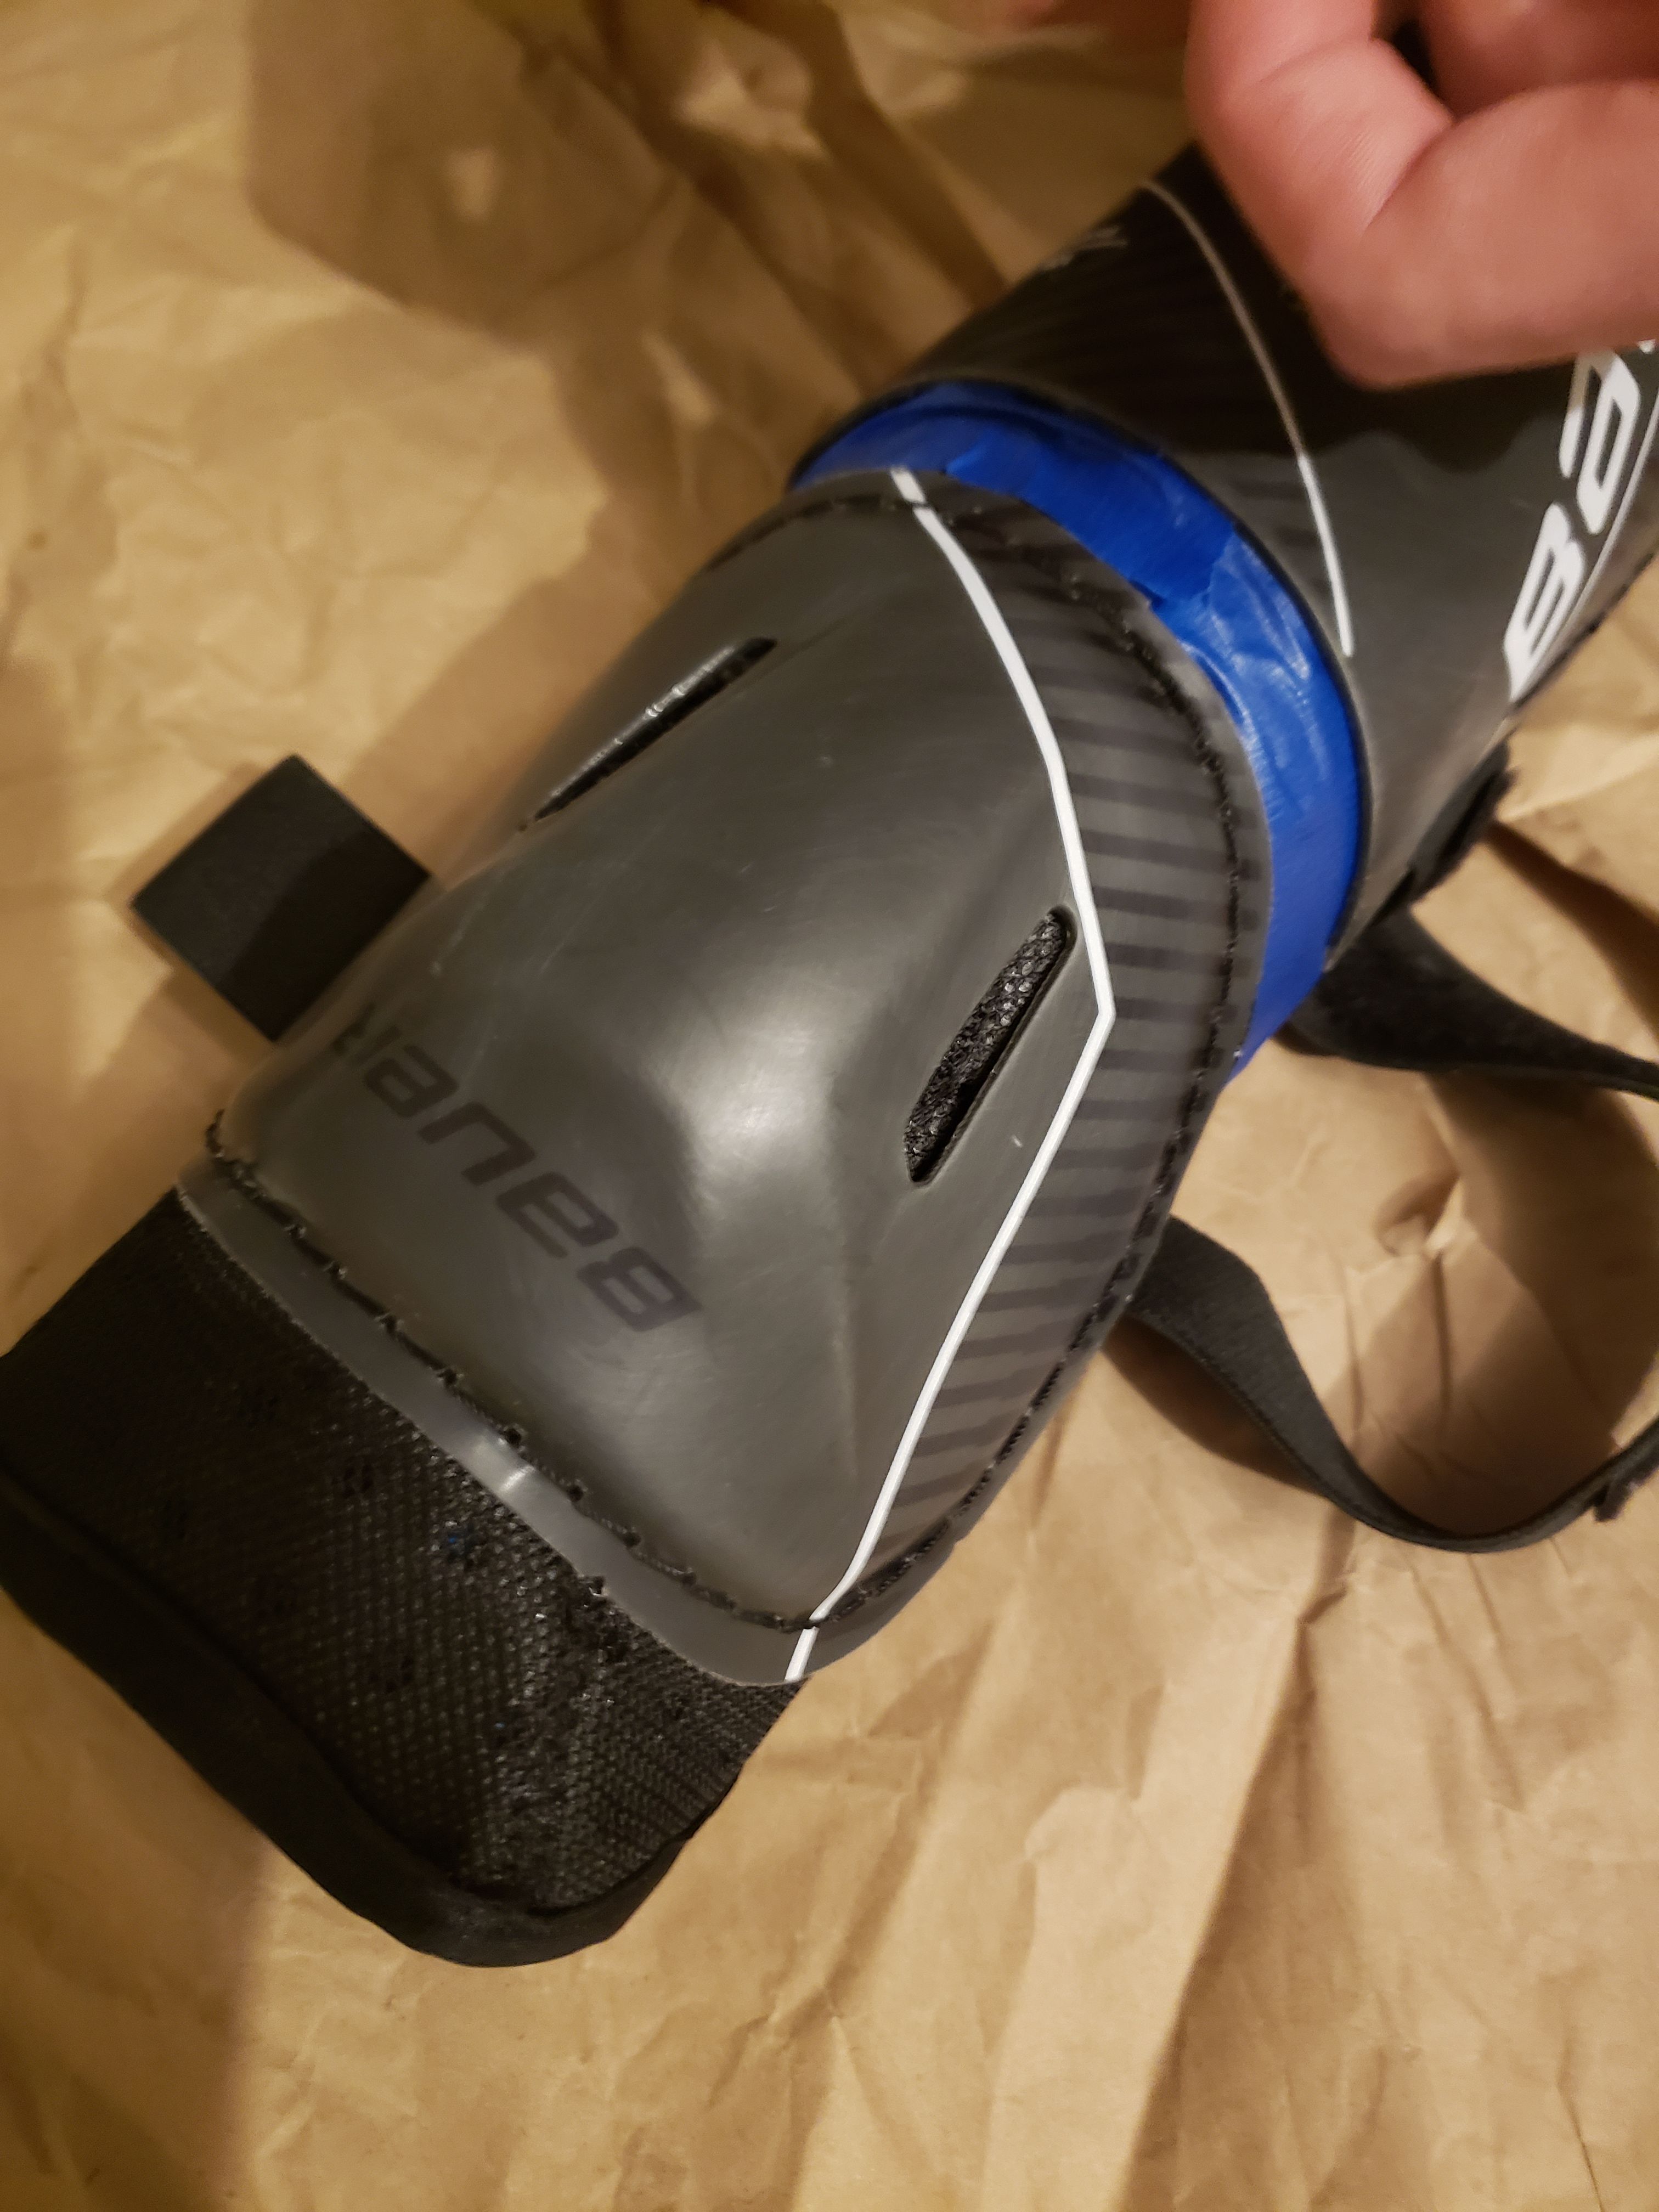
Can I get a visual reference of what my shinguards should looks like when painted ?
One sec @Bill MA
Same and any particular brand the link isn't useable
@Gabriel WV The shinguard link?
You have to remove the brackets...
I can't even copy the text may be my app
20211107_215314.jpg
20211107_221214.jpg
@Vincent TX It's a tinyurl
I'm not sure what issue you are having. It seems really simple to me. Maybe wait until you can use a computer or have someone else order them for you.
Screenshot_20211121-153423_RocketChat.jpg
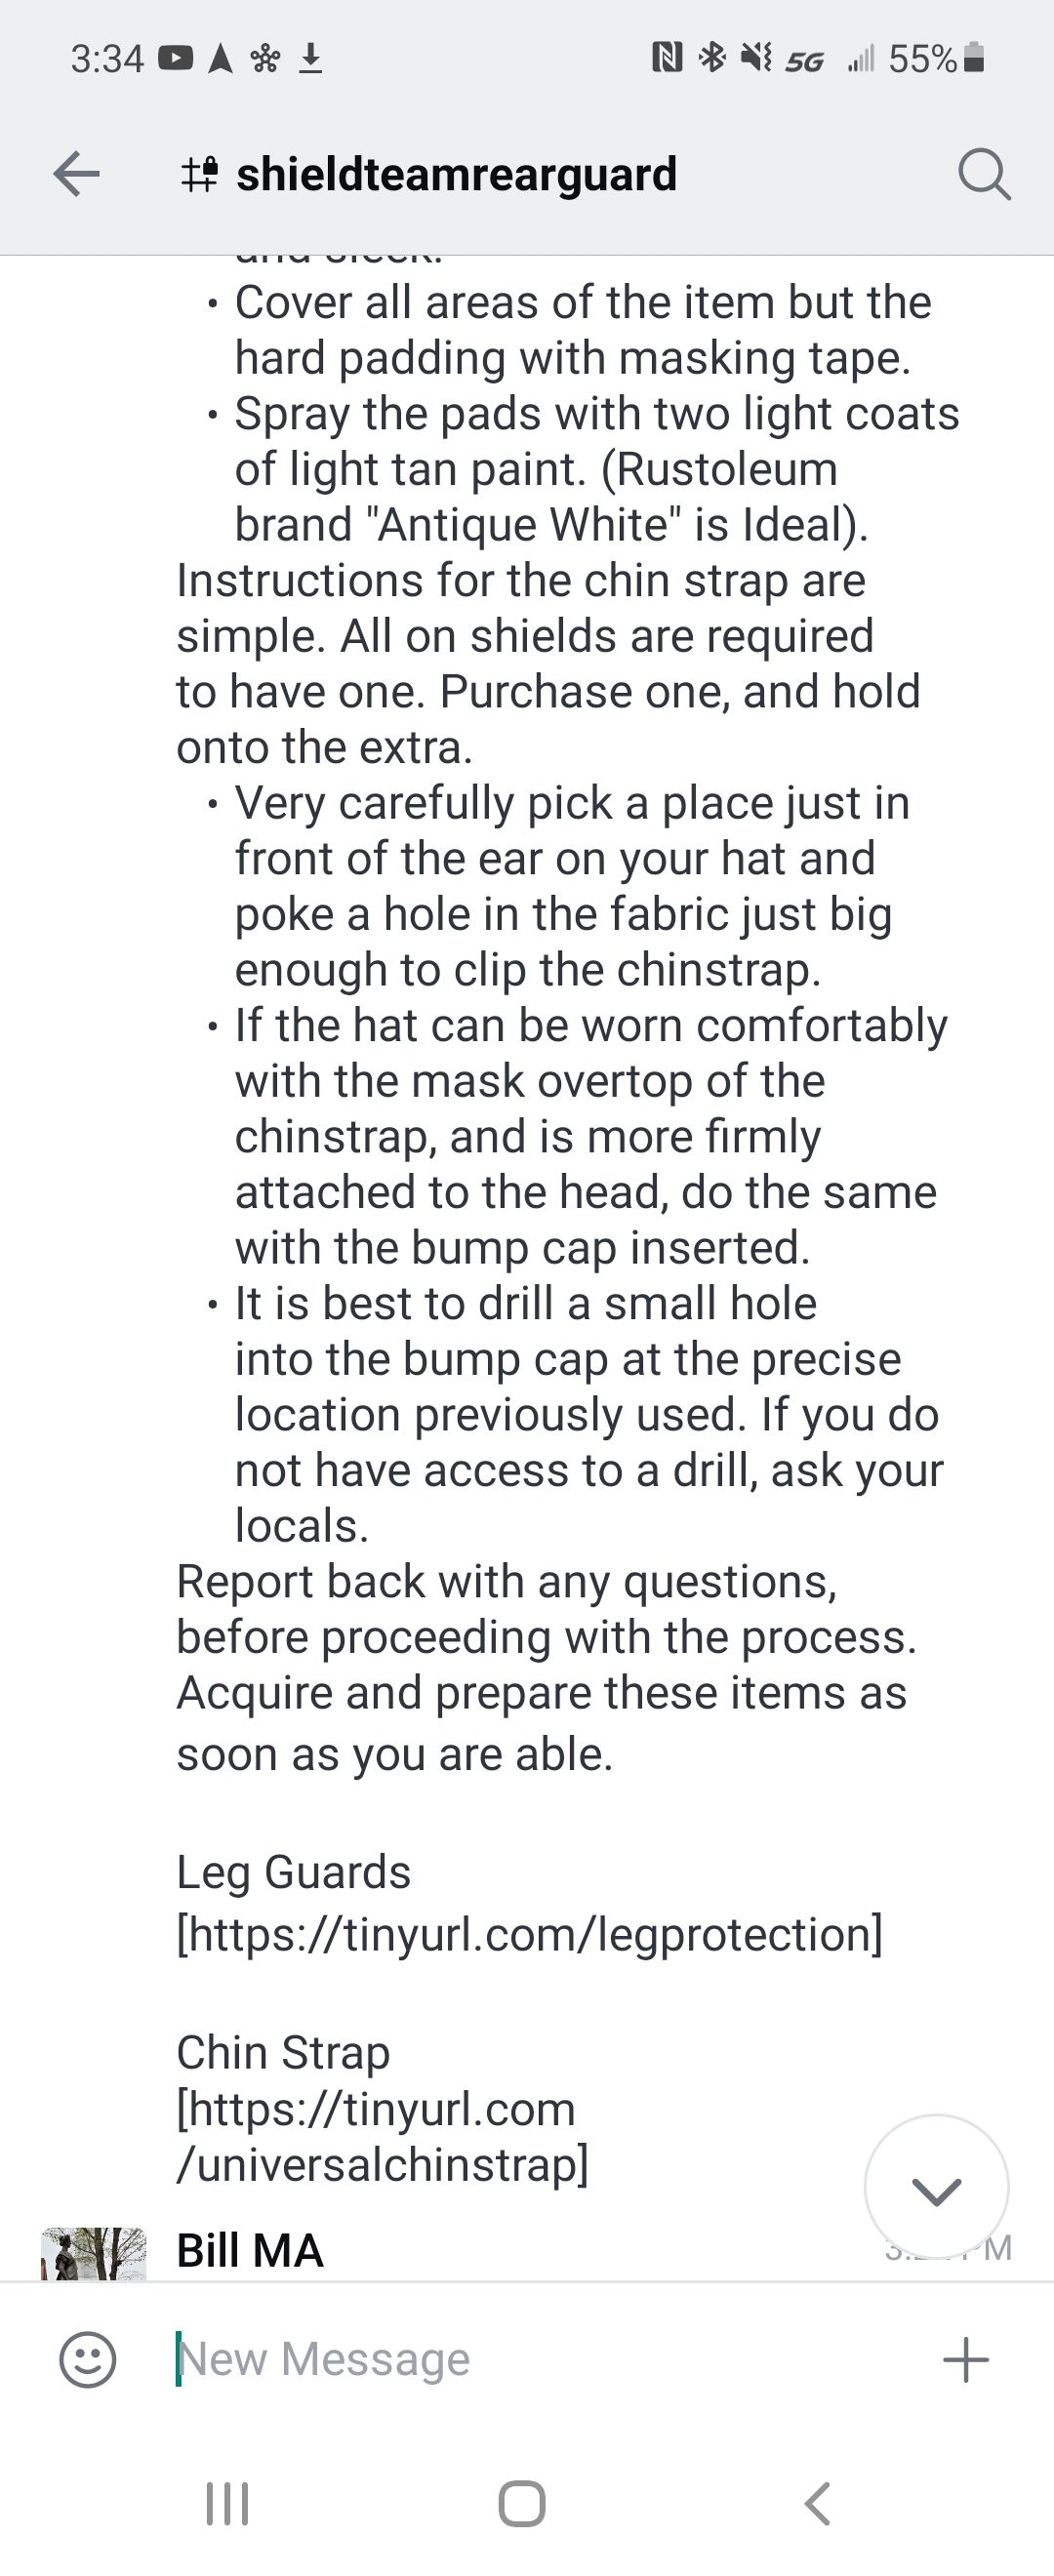
Just type the tinyurl link in your browser
I got it to work
Awesome, Get the 13" unless you are above 6 Feet, then you should get 15"
15 it is
A mans man
I just ordered the chin strap on Amazon and realized it says estimated delivery is Dec 11th.
Yeah we need another link for a reliable chin strap
I won’t have one in time for the event
I ended up with 2 somehow
Aye @Bill MA can you hook me up
Same mines saying Dec 16th
I ordered from somewhere else I bought an extra in case someone can't get one
I need a link to a bump cap and chin strap that I can get before the event
I gotchu @ND - Jon UT
I gotchu @NS - Joshua UT
Send me the link for the bumpcap as well please
Just buy one that looks thick at this point @Gabriel WV
It will be going under your mask so it doesn't matter much. It's going to be a new part of the uniform that we are working on.
Copy
since Nathan will be on Clarke’s team I’m going to remove him from this chat and add mark pa
@NS - Joshua UT you are on Anthony’s team now
Mark PA will be on mine
most important is that you order the leg guards and bump cap ASAP you might even have to pay for express shipping. Lmk if you need help fronting the cost!
@ND - Jon UT Roger that
@ND - Jon UT Remove Bill MA and Victor MA, they have been moved to screens. Add Jesse GA and Leo LA
Copy
You need to order your gear ASAP, you will most likely have to have it expressed shipped. Let me know if you need help fronting the cost and we can get it sorted out!
@Jesse GA not the same
Because the antique white comes out as tan
I recommend trying Joannes, Lowes, Home Depot
all of those stores should have if
it
Do I want the 13" size I'm 5'10"?
yes
Ordered them now. Should get them Friday. Any recommendations on sandpaper? I'm guessing the most coarse as I can find (i.e. lower grit number).
@all Can we get a review over all the commands for the rear guard? I remember what I'm supposed to do from the drilling, but want to be certain on the verbiage if that makes sense.
Drill start (by Section Lead): Rearguard, Stagger!
Second Rank Team Lead (when ready): Cycle, Back!
Ok, that's what I remembered. We will be drilling again on the day of correct?
Correct, but it is everybodies responsability to know this inside and out. the point of drilling the day prior/of is to get in synch, learning happens now.
Sounds good. I remember taking @ND - James TX aside to go over some "grip breaks" I guess you'd call them on the shields. Think this would be good to drill. A single or both hands on the top of the shield isn't difficult to break, but a grip on both sides of the shield can be a problem. We did figure it out, but it does require you to exert a good deal of energy. Hopefully people at the even will be to stupid/scared to do this.
I believe that is a more or less apt expectation.
As someone who got hit in the face by a shield. I have a hard time believing someone would be stupid enough to come back for seconds if they catch some steel.
For the single/double hand on the top you can just step back and rip the shield back and to the left (Think only right side grip is available on the shields, sorry lefties) to break it. To break the grip where they use each hand to grip each side of the shield you need to rotate it 90 degrees to the left and then rip it back. Turning the shield twists their wrists together and puts them in a mechanically disadvantaged position to maintain the grip allowing you to then rip it away from them more easily.
They'd have to be really ballsy to do this since gripping a shield with both hands leaves you completely defenseless.
Ok, so stagger is the command to present shields? We used lock step lock whenever we trained in Tallahassee. Also we didn’t actually have real shields to do it with so I’m hoping we get some practice with real shields before the actual event.
Keep in mind, if someone grabs the shield with both hands it leaves them open to getting bashed. I took a shield to the lip and trust me, if someone steps up to us and gets a taste they won't want seconds.
@Jesse GA Yes, if/when @Vincent TX or another section leader gives the command to stagger, that is when we take our defensive stance to protect the rear of the column. And then the 2nd line must begin the cycle back order.
Does someone have a picture of what their hat with the chinstrap on looks like fully assembled? Want to make sure I don't do anything stupid since I only have one hat and bump insert.
I managed to get it done. Looks good to me. Can't wait to march beside everyone this weekend!
Will post when I get home.
I have a picture of my shin guards as well. Got the spray paint that @ND - Jon UT said to get. But I think I sanded with too rough a grit sandpaper. It makes the pads look very rough. I guess not the worst look though.
Shin Guards.jpg
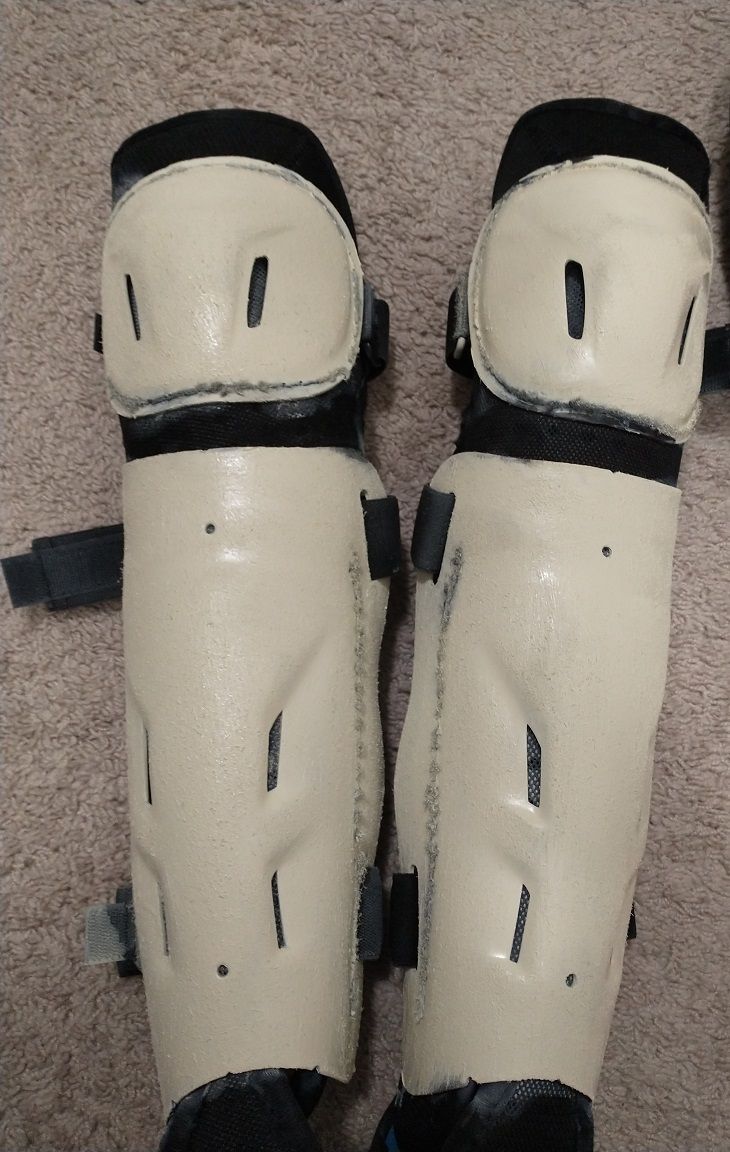
Looks just fine man
mine look very similar
@Leo LA looking good brother
I remember everyone having some trouble sanding them down in Texas so I just bought 60 grit sandpaper to make it easier. I guess if I wanted to be a perfectionist I could've done the 60 grit followed by a smoother paper to even it out.
Mine turned out about the same as well
The strap has a plug that you push in and it locks in place. Other than that, I punched a hole in my hat, put the bump camp insert in, marked the bump cap through the hat with a sharpie, then drilled a hole in the marked spot on the bump cap.
What did you use to punch the hole, was the drilling difficult or pretty simple?
I used a nail to punch a hole in the fabric of the hat. Then I used a drill to make a hole in the bump cap insert. I started with a smaller nail for the hat and then used a bigger one if the chin strap didn't fit. Same for the drill bit. Start smaller and move up.
Can you bring whatever tools you used to the event to help others?
Yeah I can do that. Think it was a 3/32" bit for the bump insert if anyone has a drill bit set.
Will anyone have a spare chin strap they could bring? Mine has been delayed and will not arrive in time. I will look and see if I have that drill bit to bring.
Yeah it's the same story for me with my bump cap.
@Mark PA I've got a spare for ya bud
Awesome, thanks
Np
IMG_5824.JPG
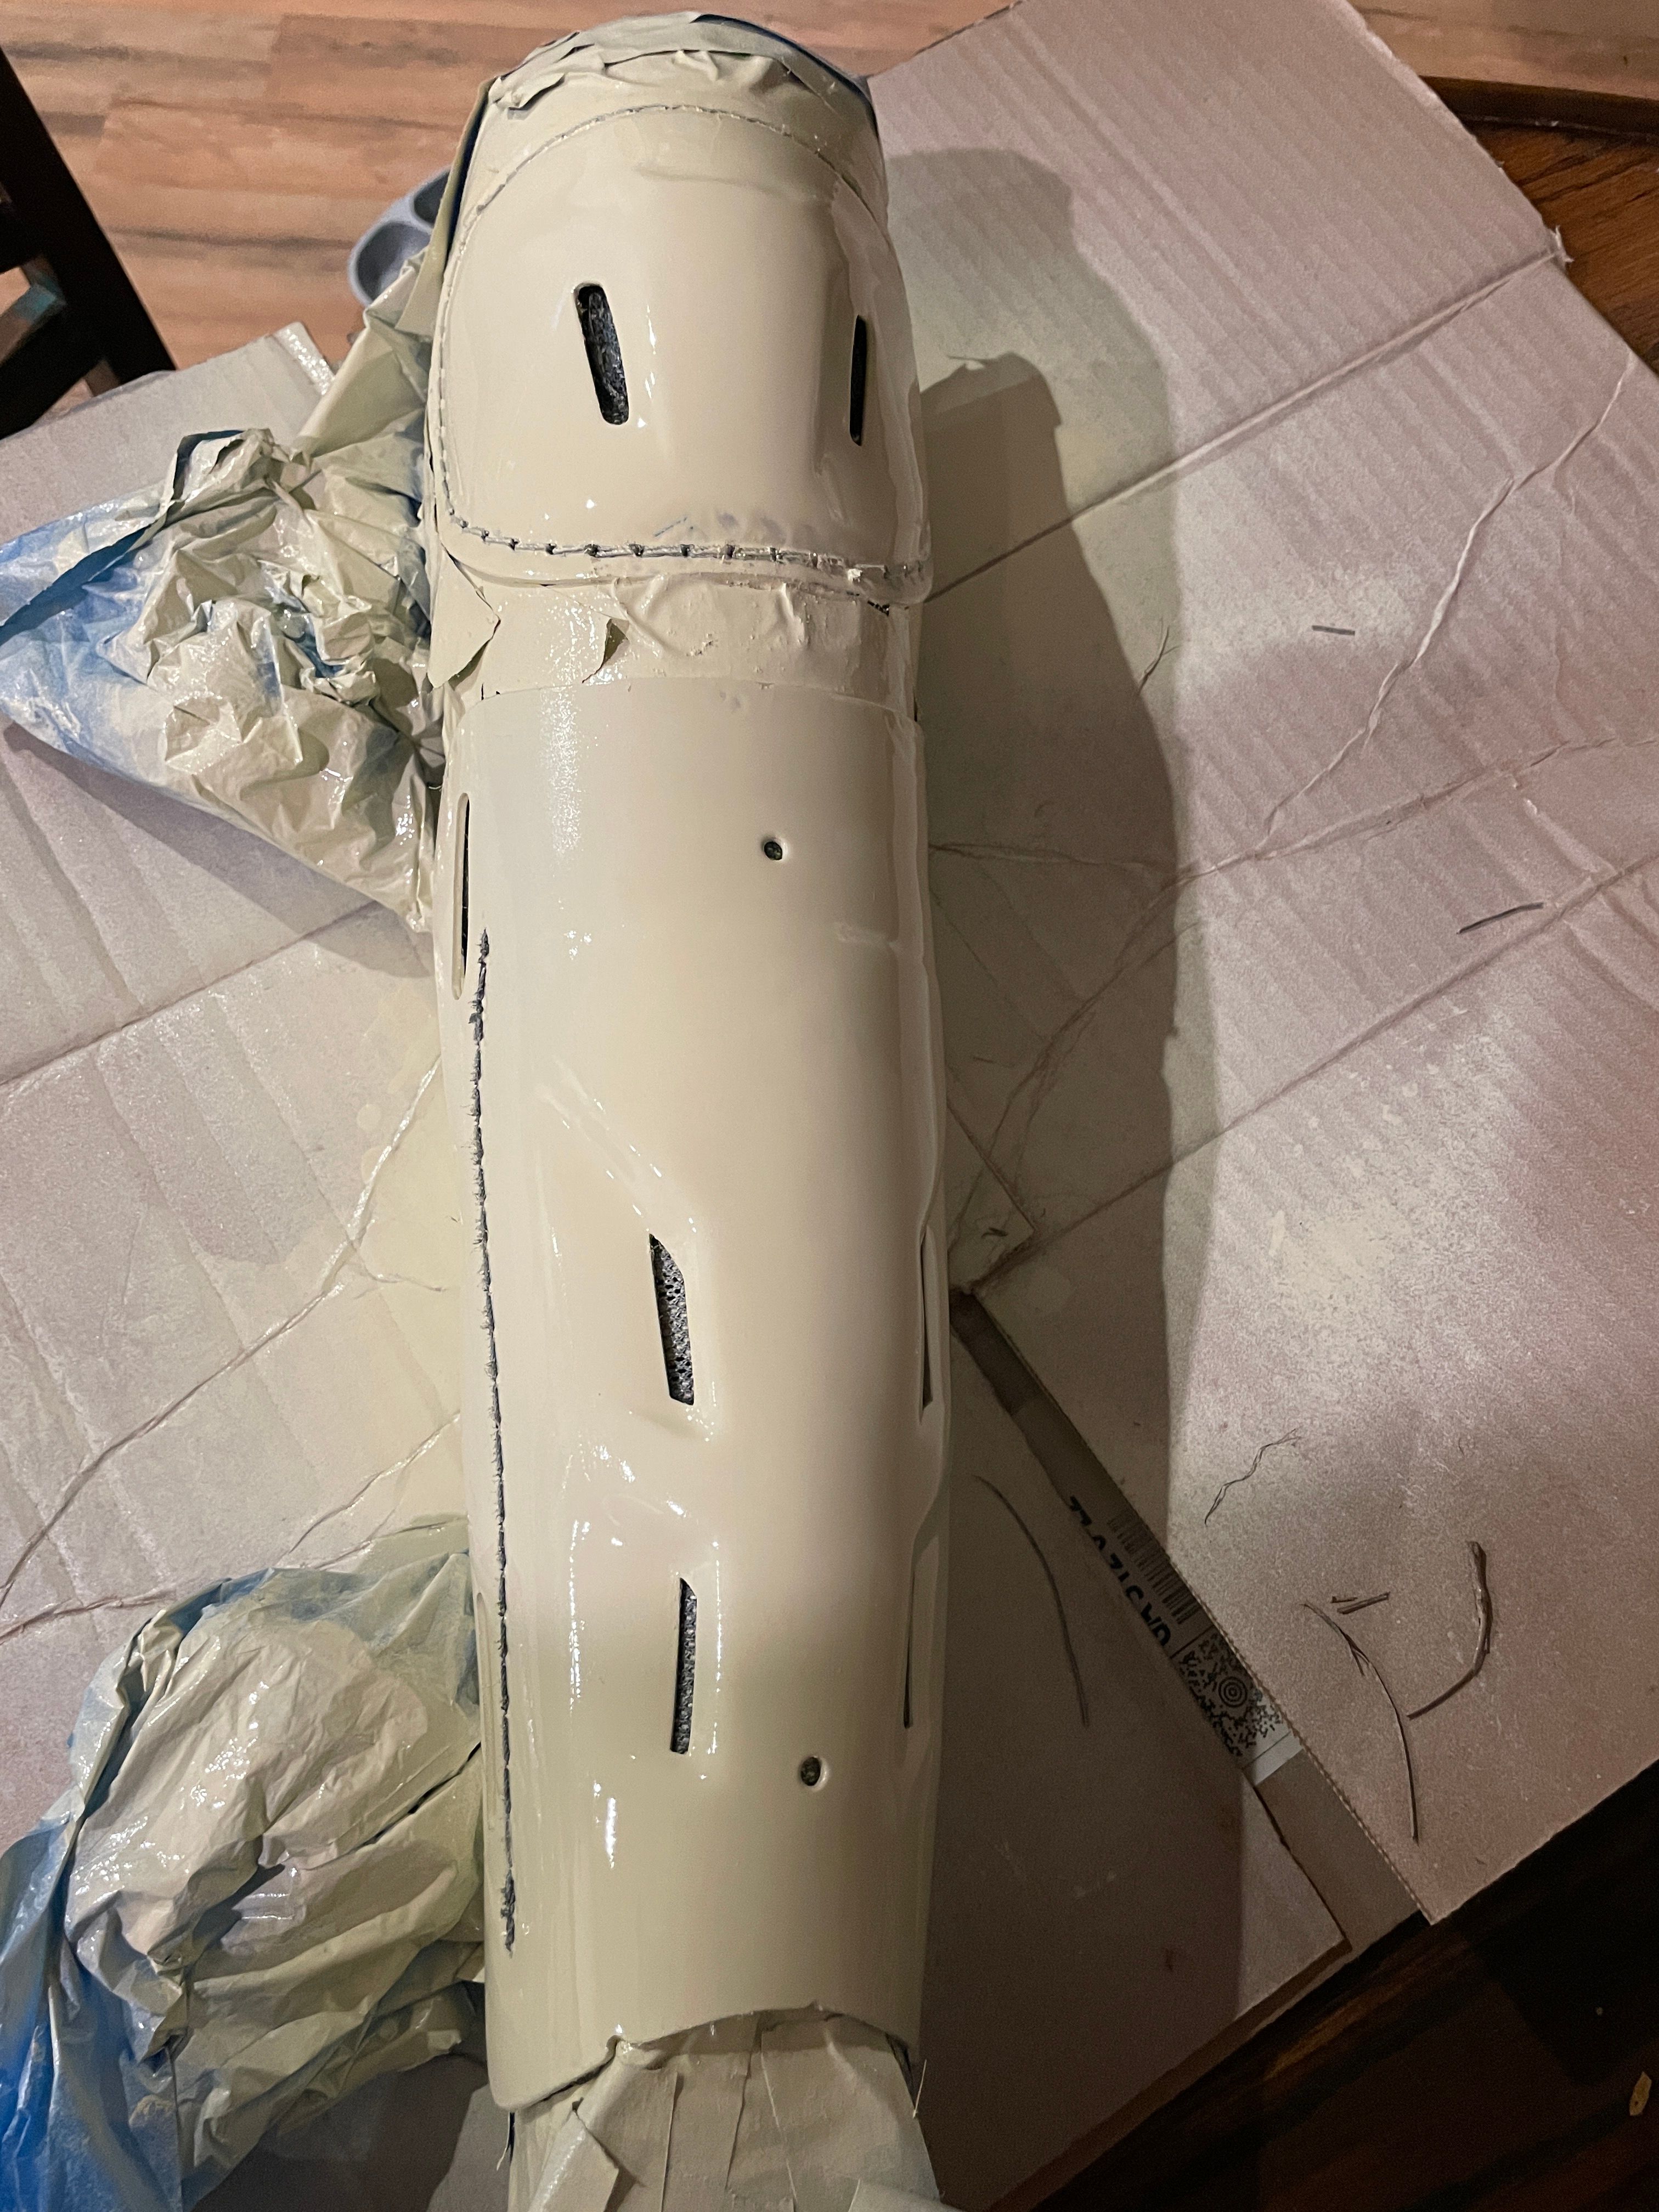
Well gents there was a mishap with the recommended pads so I ended up with beefy ones that cost me a little more good mobility tho
Guys, I forgot my drill. Can one of y'all bring one? I believe the bit I used was a 3/32".
I have 1/16 and 1/8 bit, if you think those will function appropriately, I can bring them.
I have one
Packed, along with titanium drill bit set. Will get it done.
115 total messages. Viewing 100 per page.
Page 1/2
| Next